In an age where health and safety are paramount, ensuring the purity of drinking water in one's own home has become a significant concern for many. While laboratory tests are the gold standard for water quality analysis, they are not always accessible or cost-effective for regular use. Fortunately, a variety of home testing devices are available that can provide valuable insights into the quality of your drinking water without the need for professional laboratory services.
Understanding the Importance of Water Quality
Water quality refers to the chemical, physical, and biological characteristics of water, typically in respect to its suitability for a specific purpose such as drinking or bathing. Impurities in water can pose health risks, including gastrointestinal illnesses, reproductive problems, and neurological disorders. Common contaminants in drinking water include bacteria, lead, mercury, pesticides, and other chemicals.
Types of Home Water Testing Kits
-
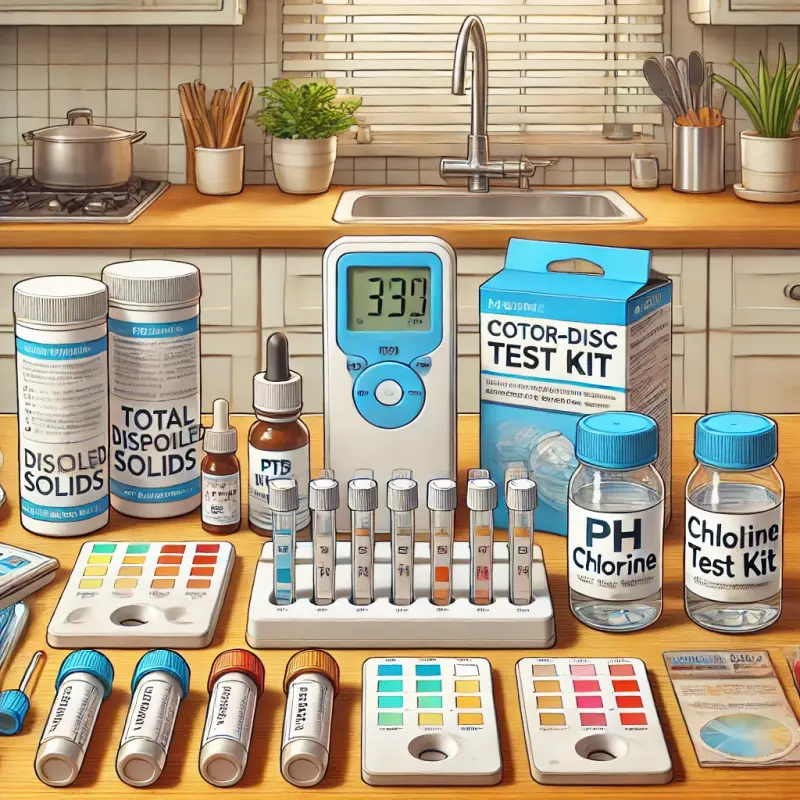
TDS Meters: Total Dissolved Solids (TDS) meters measure the total concentration of dissolved substances in water. While a TDS meter does not identify specific pollutants, it can indicate the overall mineral content of the water, which may suggest contamination if levels are unusually high.
-
pH Testing Strips: Water’s pH level, which shows how acidic or alkaline it is, can affect both its taste and safety. pH testing strips are simple to use and can quickly reveal the pH value of your water. A neutral pH level is generally considered safe for drinking water.
-
Chlorine Test Kits: Chlorine is commonly used to disinfect public water supplies. However, high levels of chlorine can lead to a range of health issues and affect the taste and smell of your water. Chlorine test kits can help monitor the levels of this chemical in your water.
-
Color-Disc Kits: These kits use a color comparison method to test for specific chemicals in water. By adding a reagent to the water and comparing the resulting color to a reference disc, you can measure levels of substances like iron, copper, and nitrate.
How to Test Your Water at Home
Testing your water at home starts with choosing the right kit for the type of contaminant you are concerned about. Follow these steps for a basic water quality assessment:
- Collect a sample of water in a clean container, preferably one that has been sterilized to prevent contamination.
- Follow the instructions provided with your test kit carefully. This usually involves dipping a test strip into the water, adding a reagent, or using a digital meter to take a reading.
- Compare your results with the guidelines provided in the kit or those available from health authorities to determine if your water meets safety standards.
Each method has its strengths and limitations, and often, using multiple tests in conjunction can provide a more comprehensive understanding of water quality.
Next Steps and Recommendations
Once you have tested your water, interpreting the results correctly is crucial. If your test results indicate contamination, consider taking further steps such as re-testing, installing a water filtration system, or consulting a professional for more detailed analysis. Regular testing is recommended, especially if you notice changes in water taste, color, or odor, as these could indicate new or increasing contaminants.